Hello. It is nice to see you here. Today I am going to share with you a card featuring the Quadrafoil Tag and the Fleur De Lis Border from the last new CLD release. They are both such pretty and intricate designs.
My base was started with black cardstock. I cut two pieces of mauve paper and then cut one edge on each piece with the
Fleur De Lis Border Set - B680. I cut a strip of the pattern paper and layered the two pieces of mauve paper on each side of it with the cut pattern facing each other. I then layered the
French Lattice Small at the top. This gave me my base that I wanted to build on.
I used the
Quadrafoil Tag cut in both purple paper and white paper. I fussy cut the oval from the white which was only a couple of short easy snips. I then layered the sentiment
Believe to the center of the tag. I cut another tag in purple and cut the top and bottom flourish design from it to use as my corners. This set does come with a separate flourish design but I wanted bigger corner pieces so choose to cut them from the tag itself. For the
One Free Wish fairy I cut it in three different colors. Skin tone, flower pattern paper for the dress and purple pattern patter for the wings. The glitter on the wings give her the finishing touch. I did cut the fairy from the rest of the design as well.
To the bottom left corner I used the
Small Gardenia to create a beautiful flower and fussy cut some of the leaves from the paper and place under it.
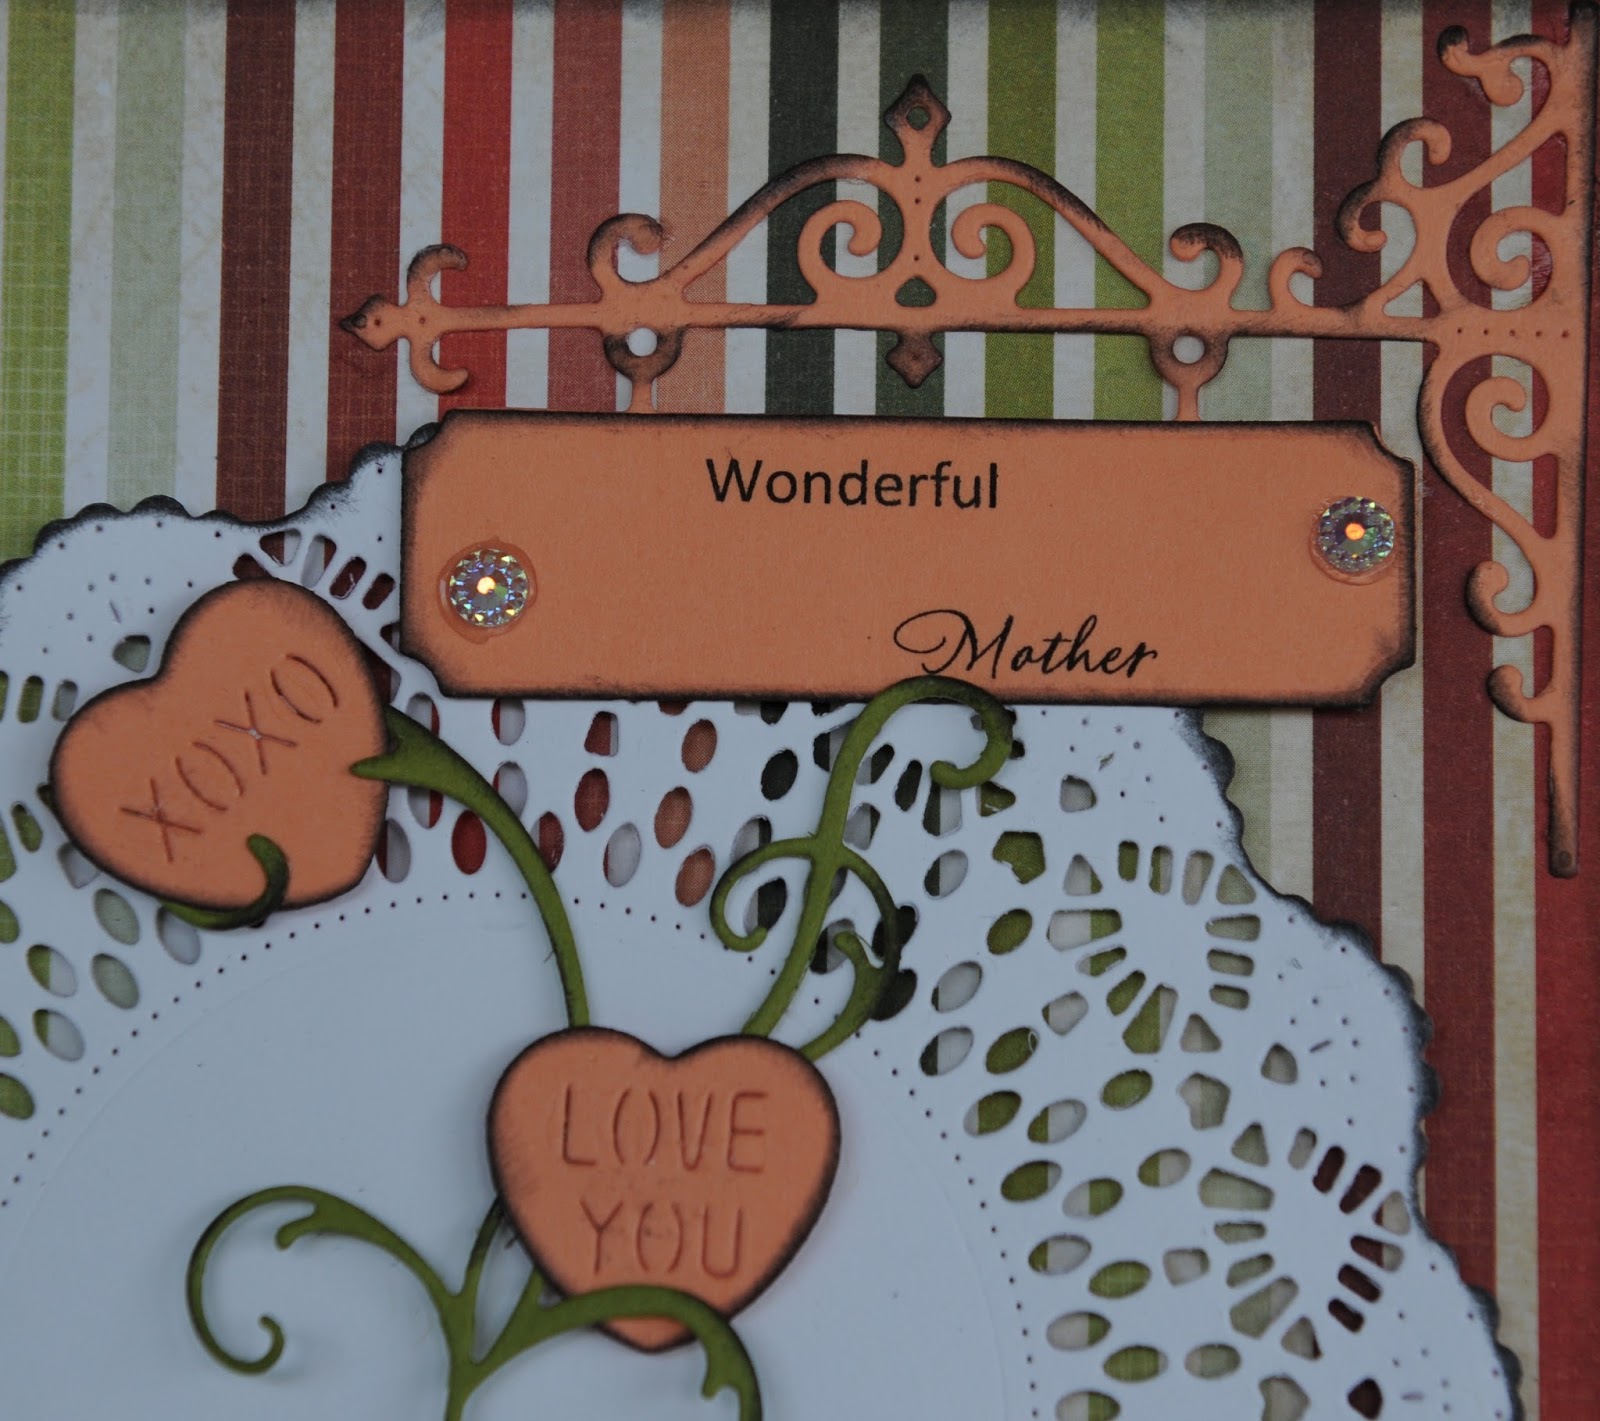
Here is a closer look at the bottom half of the card showing the pretty borders.
I want to thank you for visiting my blog today and for the comments you leave. I enjoy reading them and hearing from you.
I invite you to come join the bi-weekly challenge over at Cheery Lynn Designs @
http://cheerylynndesigns.blogspot.ca/search/label/challenge for your chance to win a $20.00 store certificate. I would love to see your creations. Have a crafty week my friends.
Dies Used
French Lattice Small - FRM132
Fleur De Lis Border Set - B680
One Free Wish - DL216
Small Gardenia - B433
Quadrafoil Tag - B682
Believe - B612


